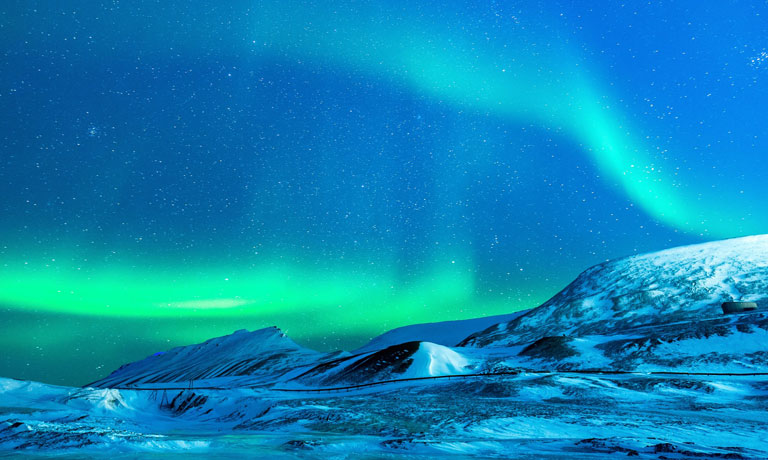
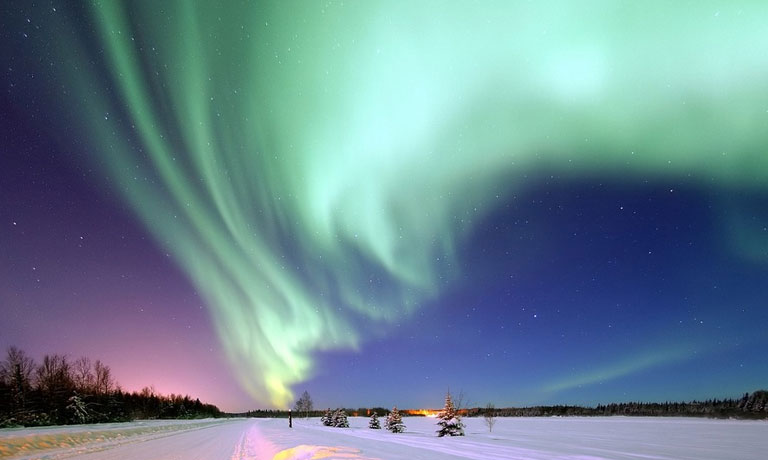
You might’ve read about the ‘aurora borealis’ or Northern Lights and want to photograph the phenomenon. Well, if you’re planning to capture this show of lights, you’ll have to visit Norway. The northern parts of this country are among the best places to capture Northern Lights. The landscape here perfectly complements the aurora with mountains soaring above blue fjords and coastal towns.
The captivating sight of colors spreading across the Arctic sky is something you wouldn’t want to miss. You can witness these lights from the seashore or a mountainside. They can also be seen from the observation deck on one of the ships of Hurtingruten. If you’ve just started landscape photography, here are some valuable tips on photographing Northern Lights:
1. Wear warm clothes
Frozen fingers and shaky hands won’t be of any use if you want to photograph the aurora. The northern parts of Norway are extremely cold during winter. So, you’ll need to put on many layers of clothing. Don’t be concerned about your appearance after wrapping yourself up in this manner. The real star in your photograph is Northern Lights.
2. Check the forecasts
You must pay attention to the aurora forecast as well as the weather forecast. This will help you in getting to the right spot on days when the sky is clear. You must also ensure that the light show is visible during your visit. You can book a guided trip of Northern Lights, as the guides would know the local weather.
Consider installing the forecast app NorwayLights on your smartphone. This will give you easy access to the Northern Lights forecast on-the-go.
3. Move away from the city lights
To photograph the aurora you’ll need to move away from the city lights. This is absolutely necessary if you wish to click some excellent photos. Make sure you find an ideal spot, which is far from the city center. You can also consider hiring a local guide who knows the right spots for watching this natural phenomenon. Don’t use a flash when you’re photographing this fascinating show of lights.
4. Use the manual camera settings if available
Manual camera settings are always the best when you’re photographing this fabulous show of lights. Of course, the automatic settings would make things a lot more easier for you. However, when it’s dark, manual settings would be your best companion. If you rely on automatic settings, you might not get the Northern Lights in your photograph at all.
The manual settings allow you to adjust the shutter speed, focus, aperture, and ISO. To begin with, you must familiarize yourself well with the settings of your camera. Once you’re good at using them, you can travel to the designated spot confidently and get the perfect shot.
5. Keep the camera steady
To keep your camera steady while capturing the images of Northern Lights, use a tripod. The blurry images might seem quite artistic to you, but you wouldn’t want your photograph to appear like them. In case you don’t have a tripod, look for a big rock to keep your camera still. You can also consider placing it on the hood of a car. Use anything that can keep the camera steady for getting the right shot.